Tuesday, October 17, 2006

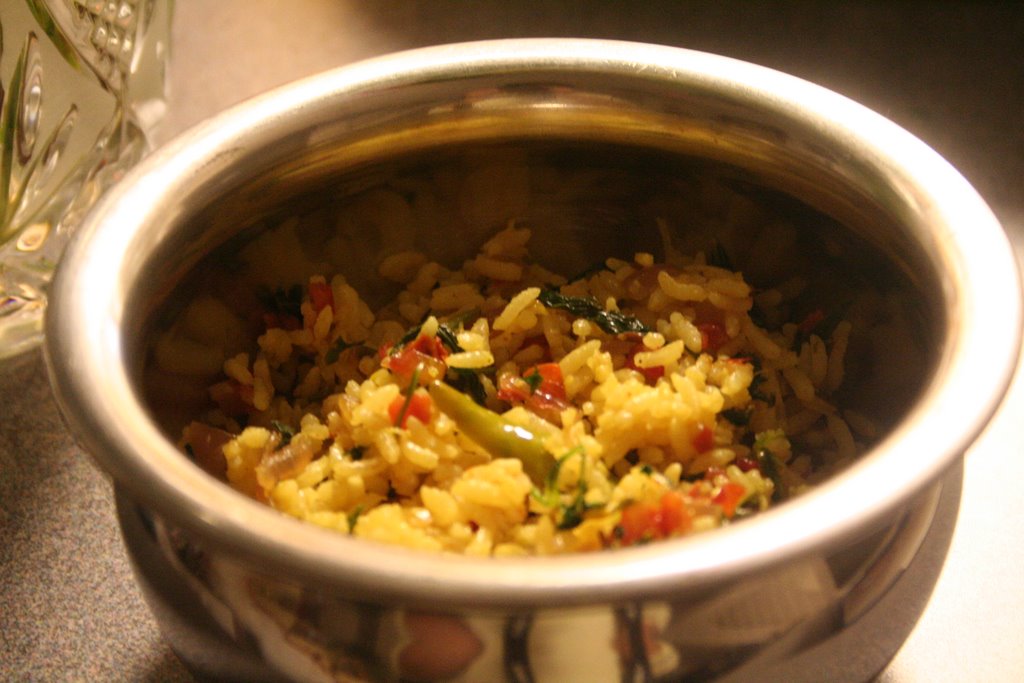
Minty Medley

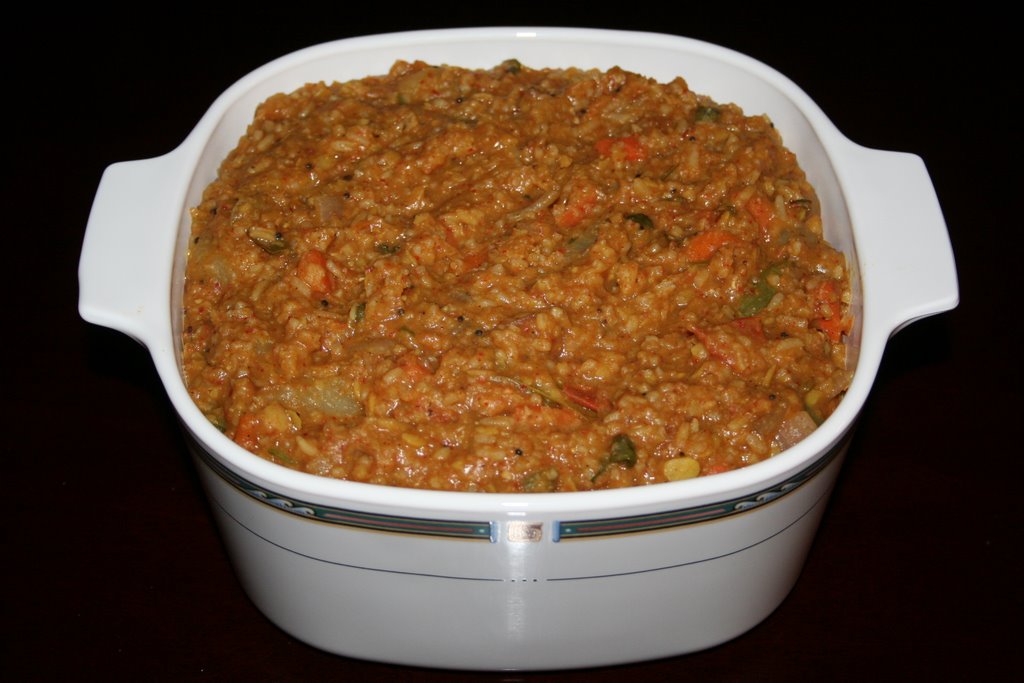
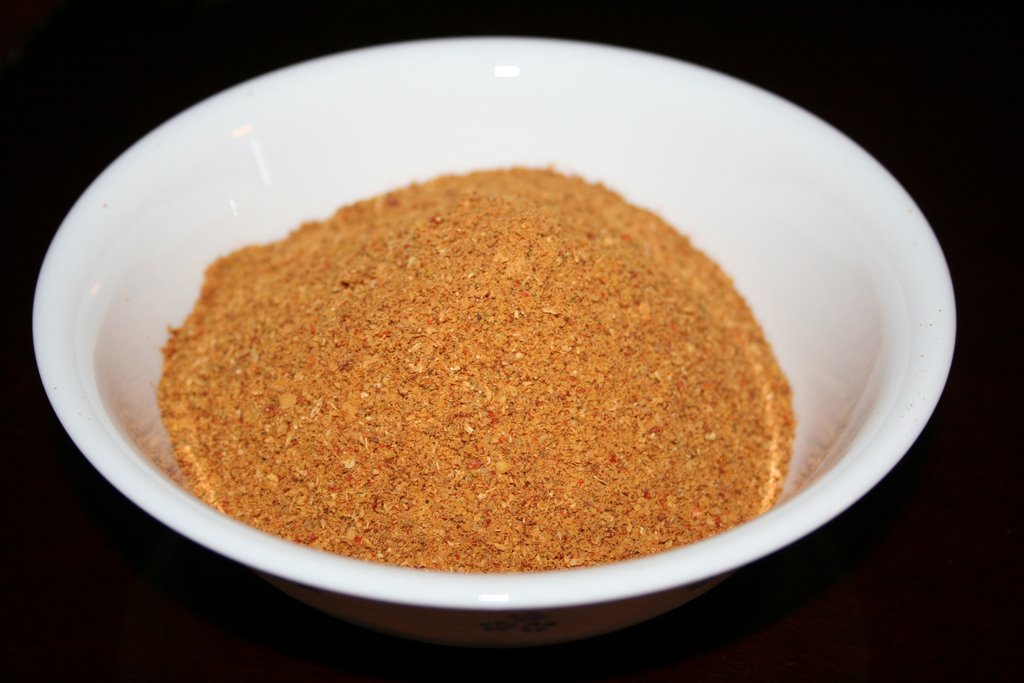
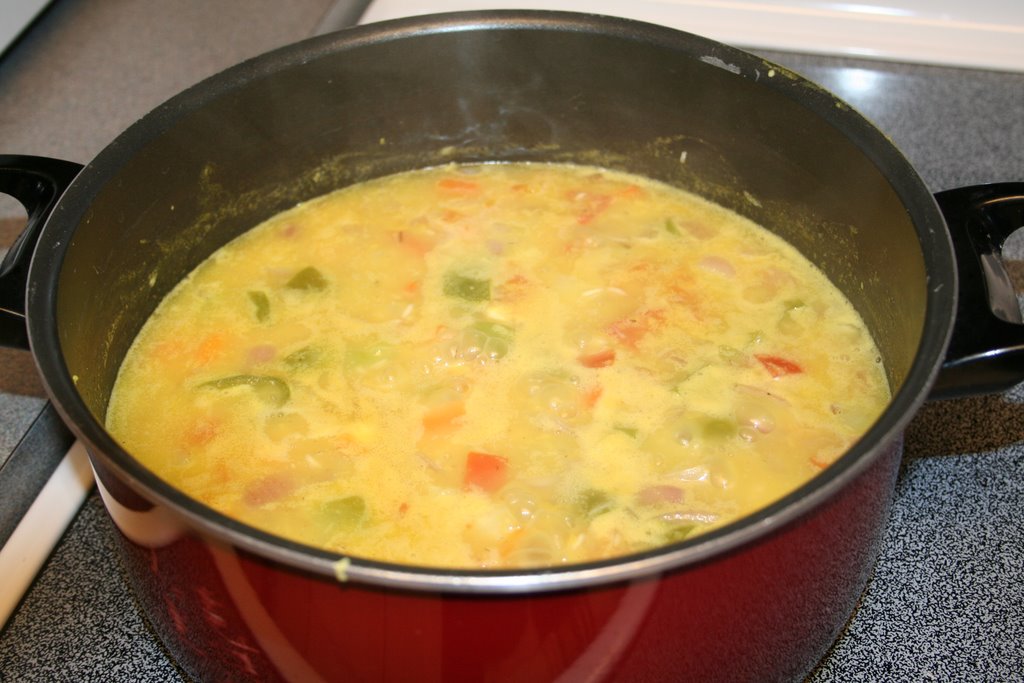
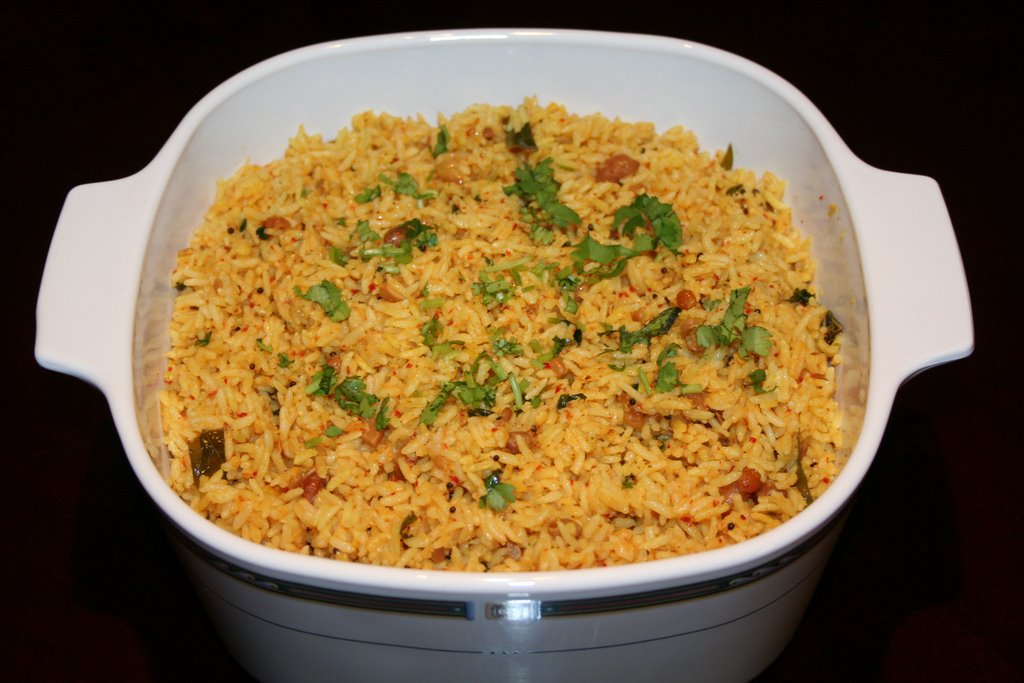
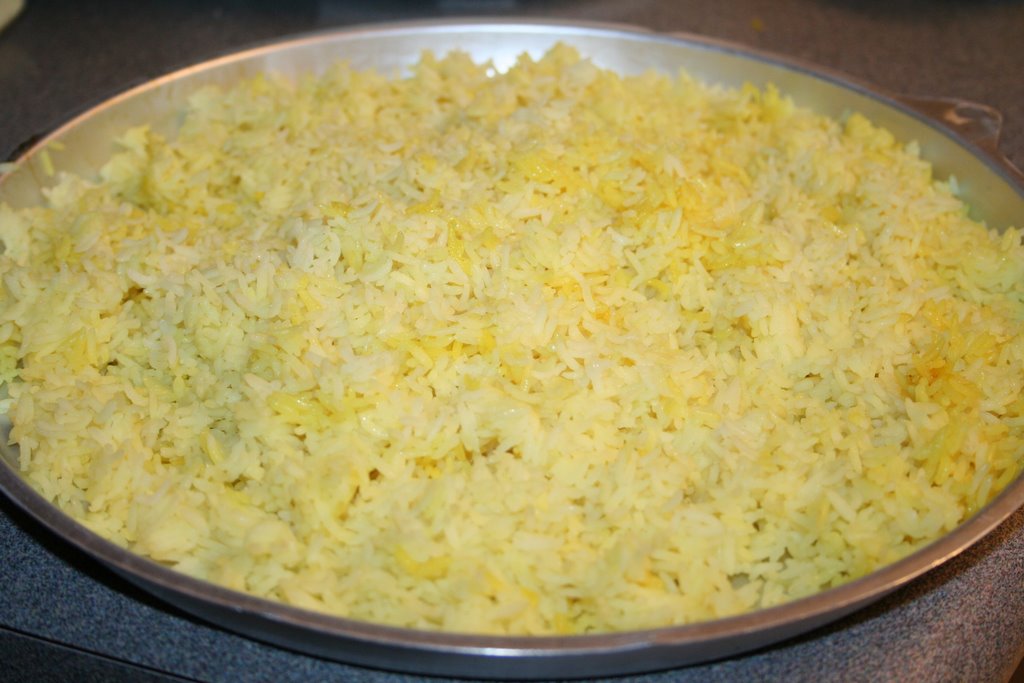
Hello everyone......thought I would get back on track with my blogging. Took a very long break and I feel so rejuvenated. I have a backlog of recipes tried and tested waiting to be posted. Here's a simple yet mouthwatering one. Don't be overwhelmed by the name 'Minty Medley'.....it's a no-brainer. It's just simple mint rice. Thought I would spice it up a bit by giving it a different name.


MINT is such a versatile herb. It adds flavor to any dish almost instantly. Fresh mint is even more fragrant and gives out an intense flavor. A little mint goes a long way......

I visited my friend Sowmya's house for golu and she has this beautiful backyard with apple trees, plum trees, banana trees and lots and lots of tulsi and mint. I just couldn't contain myself and brought back with me some tulsi seeds and a big bunch of freshly picked mint. The smell was so tantalising that I decided to use fresh mint as soon as I got home. I came up with my own simple and quick version of mint rice with red ripe tomatoes, onions and ofcourse lots of mint. Let's gather the ingredients.

Rice- 1 cup (Basmathi or the regular sona masoori)
Onions- 1 medium chopped
Tomatoes- 2 medium chopped
Ginger- Garlic paste- 1 tsp
Green Chillies- 3 or 4 minced depending on your level of spice
Coriander leaves- a handful finely chopped
Mint leaves- 3/4 cup chopped coarsly

Seasoning Ingredients:
Tej patta- 1 leaf
Cardamom- 2
Lavang- 2
Cinnamon- 2 pieces of 1" each
Jeera- 1 tsp
Turmeric- a pinch
Salt to taste
Oil- 2 Tbs

-Cook rice separately and spread on a plate to cool.
-Take 2 tbs of oil in a kadai, add all the whole garam masalas and jeera.
-When it splutters, add finely chopped green chillies and ginger garlic paste. Fry till it turns light brown.
-Add chopped onions and fry till onion becomes pink.
-Mix in chopped tomatoes, a pinch of turmeric and salt. When the tomatoes are almost done, mix in the coriander leaves and mint leaves.
-Check for salt, fry till a nice aroma builds up and switch off the stove.
-Add cooled rice to this mixture and mix well till blended.
-Serve with any raitha of your choice.

Monday, October 02, 2006

BEHOLD...........................

Hey everybody.....hope you all had a wonderful Navrathri. I did too. And finally I am here to post the pictures of my creativity. Feel free to pick up ideas and to suggest some to me.


Rangoli of Lord Ganesha with sand.


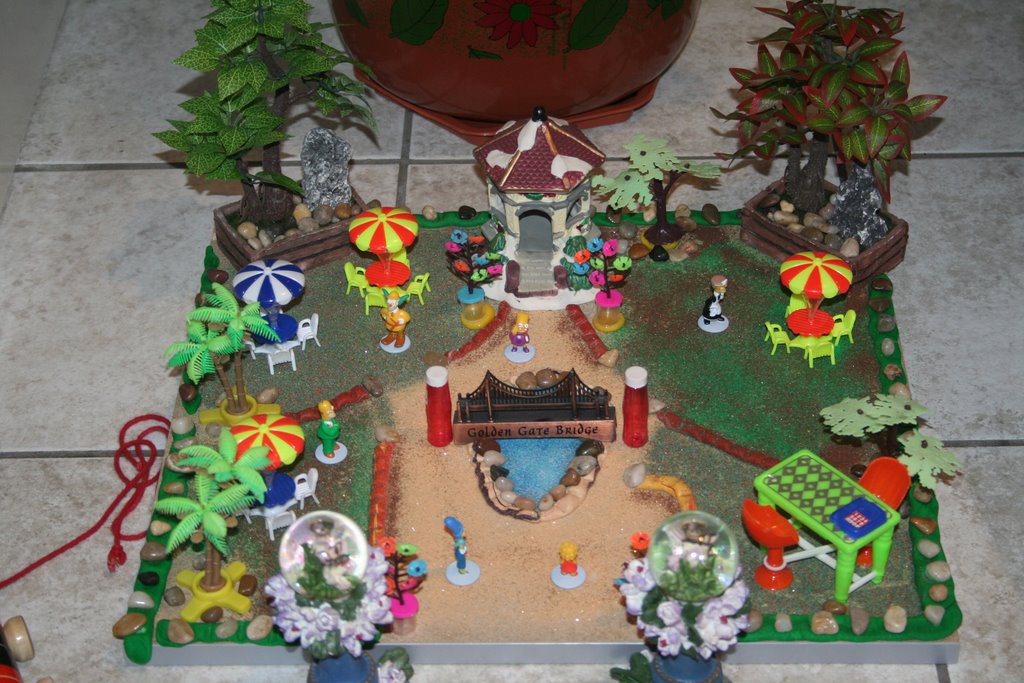
A park setting.


Close-up of the sand rangoli.


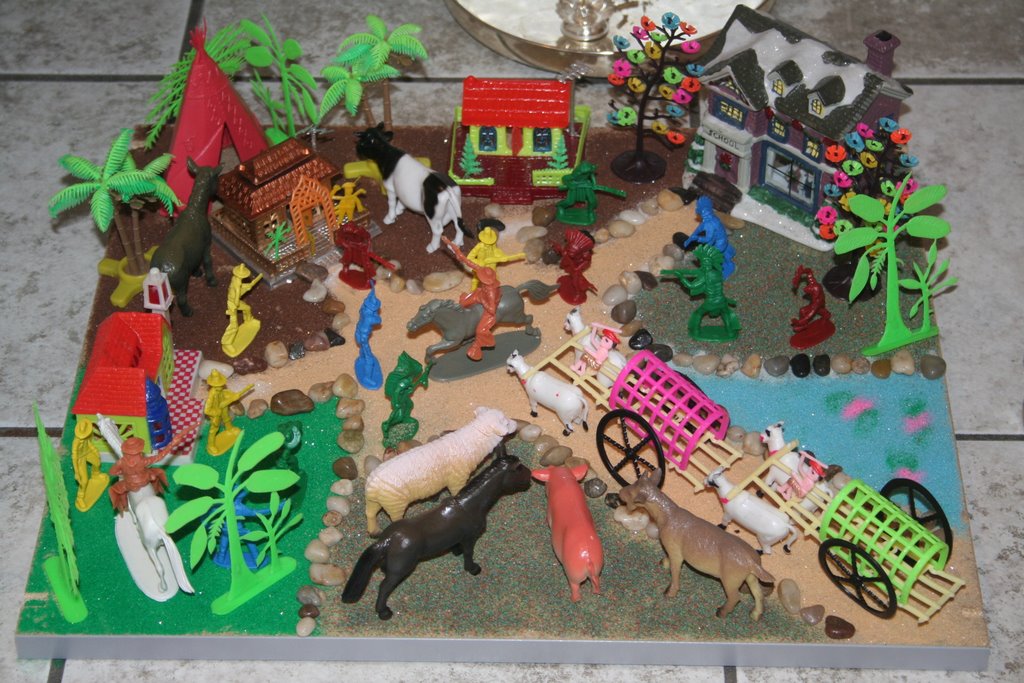
A village setting.


The whole picture.


Tatha-Paati.


The final close-up.

Friday, September 29, 2006

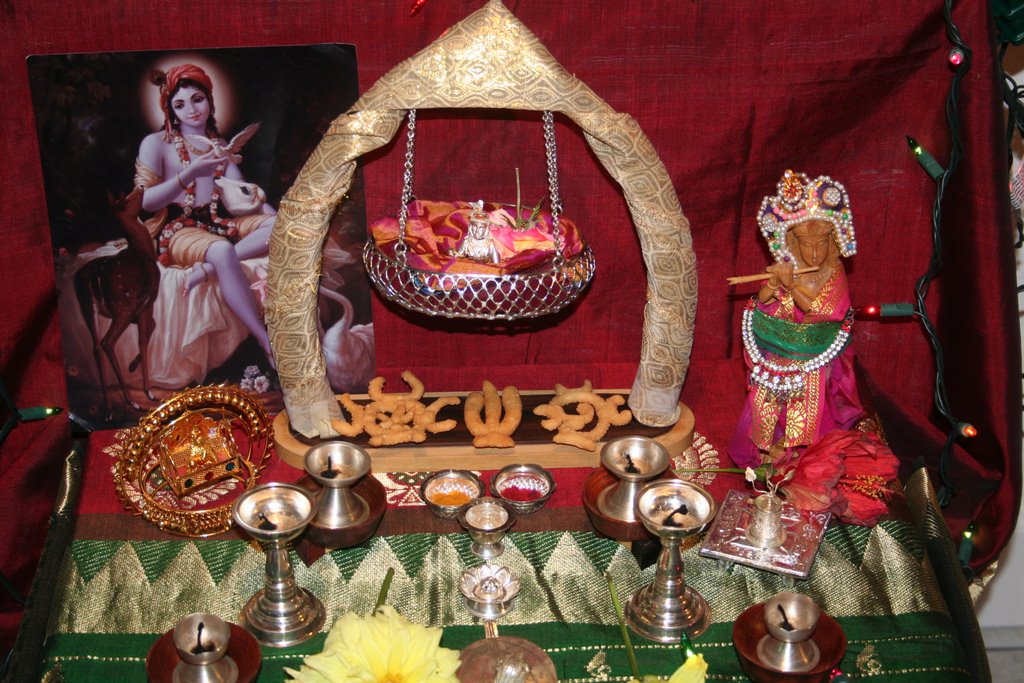
GOKULASHTMI PICTURES!

I'm back.......but first I am posting only Gokulastmi pictures. The reason that I am not yet putting up the GOLU pictures is that I don't want my friends to see it on the web before they come home. There has to be some surprises na.....

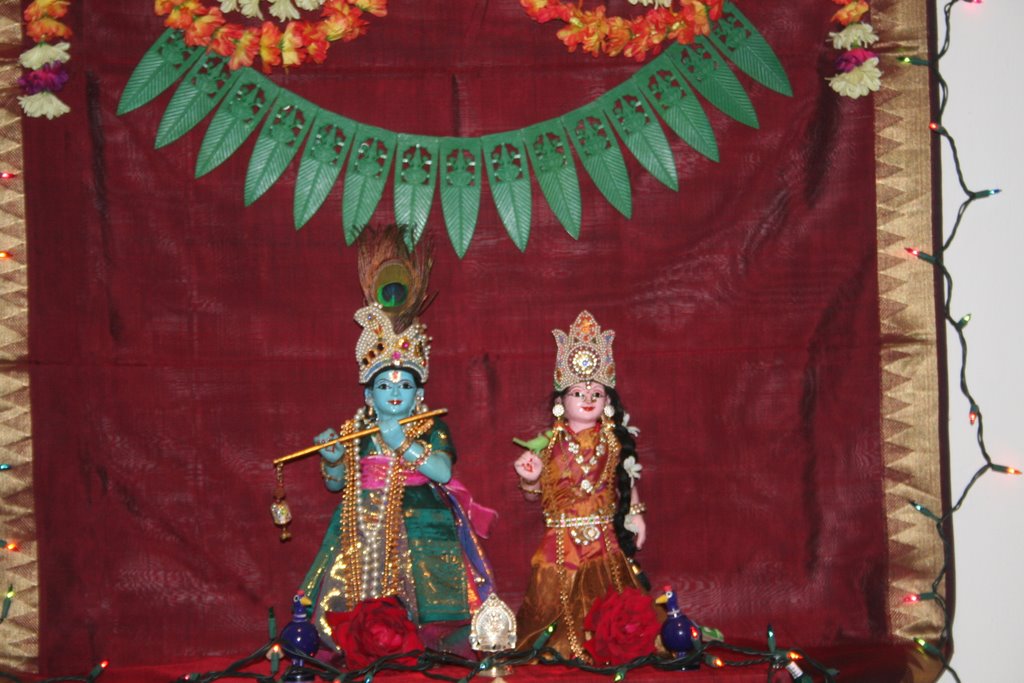
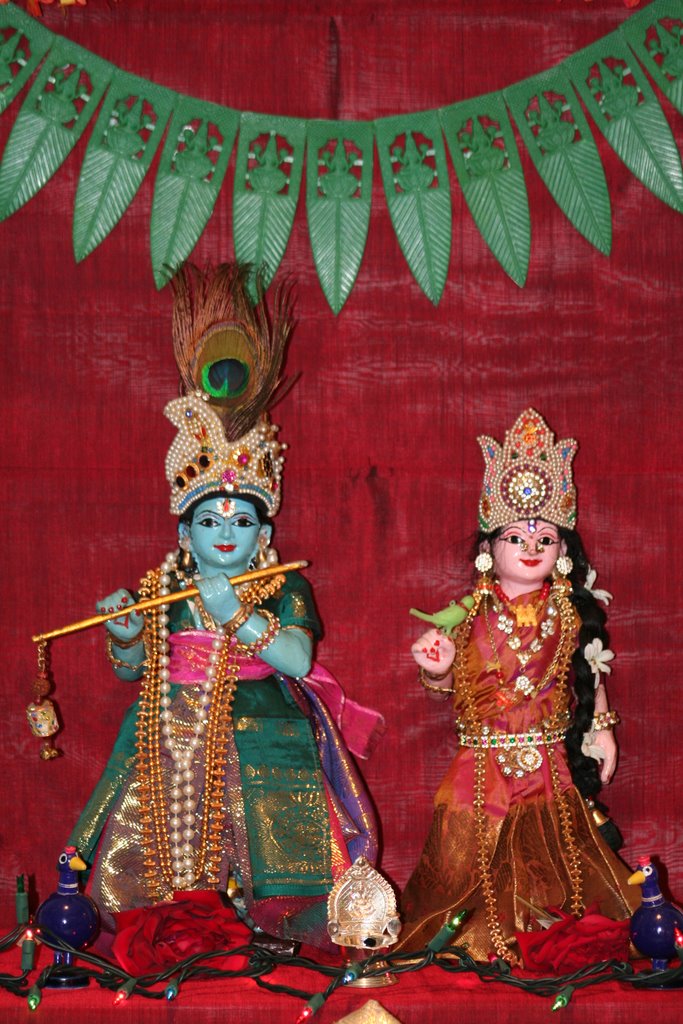
So here are some pictures for you...


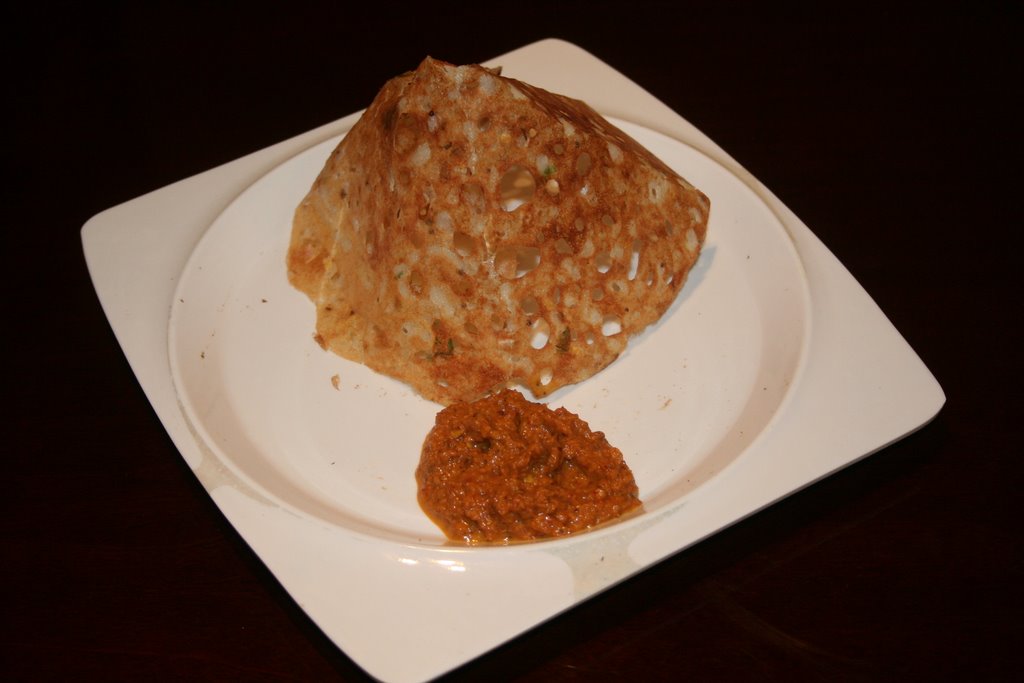
I have one more special picture for you. Can you guess what this is?


YES....ur absolutely right, it's RAVA DOSA. This is Prema Sundar's recipe and is a must try. It really is mouth-watering. Thanks Prema for sharing this with us.
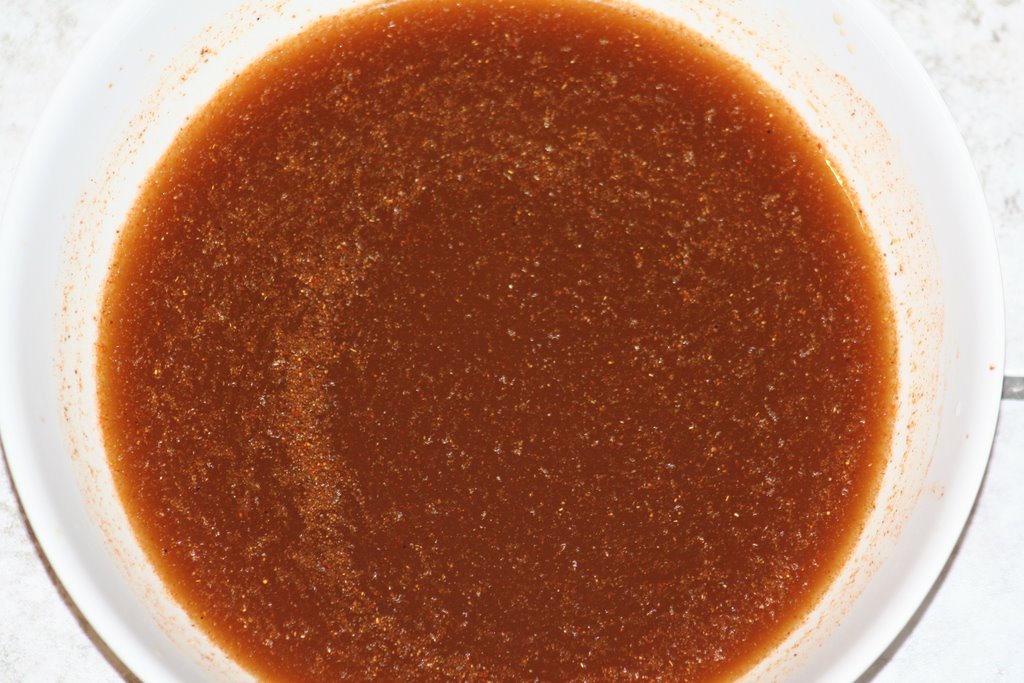
I made Vanamalaka chutney to go with it. Vanamalaka means dry red chilly. This is a versatile chutney which goes very well with anything. Here's my mom's recipe:

2 small onions
a few sprigs of coriander leaves
1" piece of ginger
3-4 cloves of garlic (optional)
2 ripe tomatoes
a pinch of turmeric
1/2 tsp of dhania seeds
3-4 dry red chillies or according to spice desired
salt to taste
oil for seasoning
1/2 tsp mustard seeds
1/2 tsp jeera
a pinch of heeng

Take a tbs of oil in a kadai, fry dhania seeds, red chillies, onions, ginger, garlic, tomatoes, and coriander leaves till onions turn transparant and a nice aroma picks up. Add a pinch of turmeric and salt to taste. Grind this mixture into a paste without adding water since onions and tomatoes give out their juices. Incase you feel the chutney is too thick, go ahead a add little water. Take a tsp of oil in a kadai, add mustard seeds, jeera and heeng. When it splutters, add this paste and fry till oil separates. Check for salt and add a pinch of sugar at the end. Enjoy this chutney with steaming hot idlis, dosas, pongal or even rice.

Tuesday, September 26, 2006

HAPPY NAVARATHRI!

Hey there......nine nights of pomp and show. Navarathri is here! Wish you all a very happy Navarathri. I have been really busy since Gokulastmi. Shankranthi, Gokulashtmi and Navarathri are the biggest festivals for us Iyengars. We celebrate these on a grand scale. Back home, it's different......lots of people to share the festivities, lots of fragrant flowers to adorn the dieties as well as yourself. Well....as the saying goes "count your blessings.." I'm happy to be able to keep our culture alive and kicking.

We have a tradition of exhibiting dolls, otherwise known as GOLU. I have always kept 3 steps or padis. This year I have kept five. That means more dolls. The tradition is to keep Golu every year since the time you are married. To start of, parents of the bride give a set of special dolls called "MARAPACHI BOMMAI" or "PATTADA BOMBE", which simply means dolls made out of a wood which is medicinal in property. It's very symbolic, and is given to a daughter when she gets married. It symbolises 'fertility'. So from then on, the daughter has to follow the tradition of exhibiting dolls during navarathri and keep adding on dolls every year.

I brought with me to the US only the Pattada Bombe. Here I started collecting dolls from dollar stores. Every time I visit India I make it a point to bring back some traditional dolls. So to sum it up, I have a pretty good collection which I intend to improve.

I will be posting the photos of the golu in a few days with some recipes. So please bear with me for some more time and I promise I'll not wander off. SEE YOU SOON.......

Monday, September 11, 2006

HOORAY........I AM TAGGED!

Thanks to Asha of Foodie's Hope and Madhu of Ruchi, I am being tagged for the first time. I was really hoping someone would. Now it's my turn to be in the limelight, wanna know more about me right?

I WAS: a few pounds lighter last year

I AM FROM: the wonderful, (not anymore)garden city of Bangalore


I AM THINKING ABOUT
: the fun times I had with my friends in college

I SAID: I would exercise regularly but I'm feeling lazy today

I WANT TO: be the best daughter, sister, wife and mother ever

I WISH: my dad was alive

I REGRET: depending on my hubby because I'm scared to drive

I HEAR: my son coughing....poor Saakash is having a bad cold and cough...hate to see children sick

I AM: planning to do my AA degree in Child Development

I DANCE: no more......I used to.....my mom's a bharatnatyam dance teacher

I SING: film songs, bhaavageethe, rhymes as I rock Saakash to sleep

I CRY: when i think of my dad.....

I AM NOT: outgoing and bold like my sister


I AM WITH MY HANDS
: very creative...I love crafting

I WRITE: recipes and monthly accounts ( not that i'm making an effort to save)

I CONFUSE: myself....I'm very absent-minded, I don't think before I speak

I NEED: to load the dishwasher....boring

I LAUGH: when my hubby sings 'Humpty Dumpty' to Saakash. He can be so funny at times

I VALUE: friendship and marriage

I LOVE: my family, dogs and my mom's cooking

I THINK: I'll skip kick-boxing today

I HOPE: I can make my life more interesting

I TAG: Sumitha of Kitchen Wonders and Sonpari of Sonpari's world

Thanks guys, I had a great time writing about myself.

Wednesday, September 06, 2006

Masala Toast

Bangalore is full of iyengar bakeries. The tantalizing aroma from the bakeries is just mouth-watering. It's really sad that we don't have any iyengar bakeries in this part of the world. So to bring back those memories, I have a very simple and very tasty recipe of the famous "MASALA TOAST".


I have used whole wheat bread in this recipe since it's more healthy. You can substitute with any kind of bread of your choice.

Ingredients:
Whole wheat bread - 4 slices / as required
Butter
Carrots grated -> 1 cup
Onions finely chopped -> 1 big
Tomatoes finely chopped -> 1 medium
Green chillies finely minced -> 2
Coriander and Curry leaves chopped -> a few sprigs
Red chilly powder -> 1/2 tsp
Turmeric -> a pinch
Salt to taste
A pinch of sugar

Take 2 tbs of oil in a wok. Season with mustard seeds, channa dal, urad dal, jeera. When they splutter, add green chillies and onions and fry till onions turn pink. Mix in grated carrots, tomatoes, salt, chilly powder, turmeric, sugar and fry till tender. Garnish with coriander and curry leaves.

Butter the bread slices and spread this masala on top. Preheat oven to 400 degrees F and bake the masala topped bread slices for a few minutes. Then broil for a couple of minutes till the bread turns crisp. Serve with tomato ketchup or any chutney of your choice. Tastes good even if eaten as it is.

Bisibelebath

Hi there.......I know I know, it's been ages since I updated my blog. I'm guilty and won't give you any more excuses. Infact....I'll get right to the recipes rather than boring you with my talk. Sorry again.

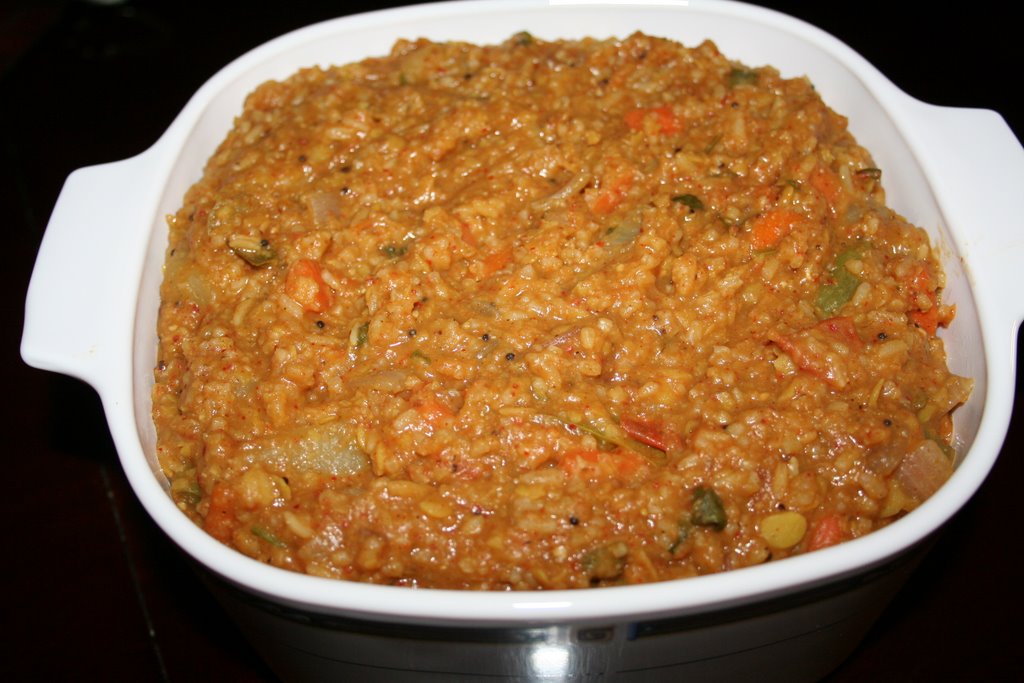
Another Karnataka favourite....Bisibelebath (BBB). There are a lot of recipes out there for BBB. Store bought powders are good but preparing fresh powder brings out the intense flavors of all the spices used and the taste is heavenly. This is my mother-in-law's recipe and an all-time favorite in our family. I guarantee you will be pleased with yourself when you prepare this dish. You'll see it's not that a big deal to make BBB too. Come on in and we'll gather all the ingredients....

Serves 4:
Toor Dal -> 1 cup
Rice -> 1/2 cup
(Sona Masoori or regular kind, not basmathi)
Mixed Diced vegetables -> 2-3 cups ( more the veggies,the healthier)
( Beans, Carrots, Potato, Capsicum/green pepper, Onion, Chow-chow/chayote, Knol-kohl/kohlrabi)
Dry Copra or dry coconut -> 1/4 cup grated

STEP 1
Take a big vessel and add about 2 Tbs of oil, washed toor dal, a pinch of turmeric and 6 cups of water. Boil till the toor dal is almost done. This will take about 1/2 an hour. Toor dal can also be pressure cooked but make sure it's not overcooked. While the dal is getting cooked , step 2 can be prepared.


STEP 2 - BBB powder ingredients:
Channa dal/ Kadlebele -> 2 tsp heaped (i normally use the white plastic disposable spoon)
Urad dal/uddinbele -> 1 tsp heaped
Dalchini/cinnamom bark/ chakke -> 6-8 half inch pieces
Lavang/ cloves/lavanga -> 5-6
Elaichi/Cardamom/yelakki -> 2
Methi seeds/ menthya -> about 8 seeds
Dhania seeds/ coriander seeds -> 1/4 cup
Dry red chillies -> about 10 depending upon spice consumed
Curry leaves -> a few sprigs


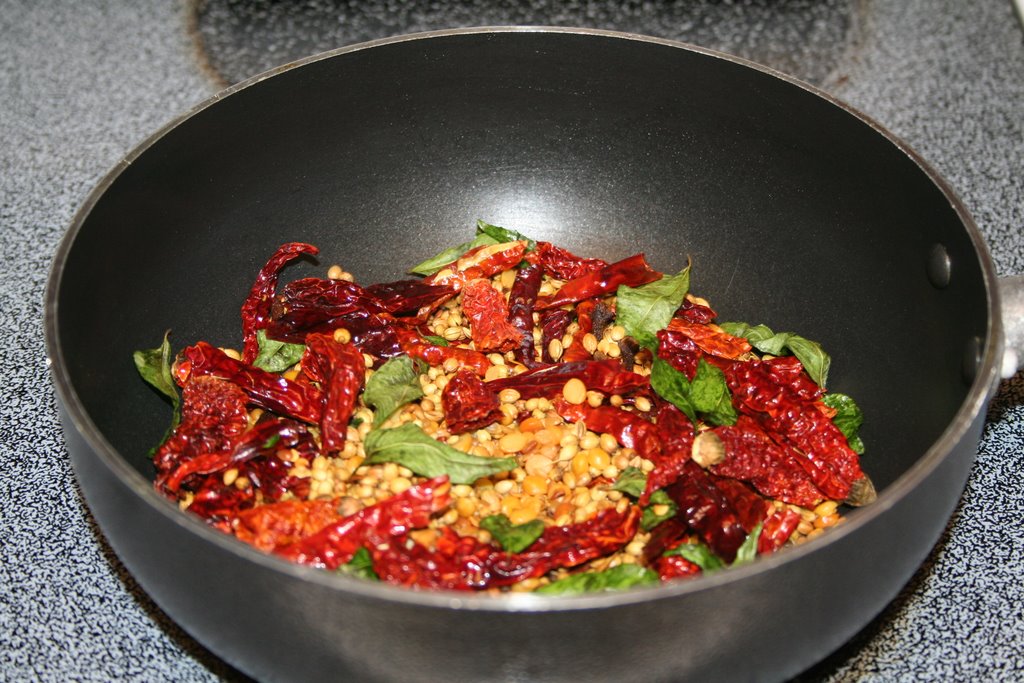
Take a drop of ghee/clarified butter and fry all the above dry ingredients in the same order....dals first and once they turn reddish-brown, the others follow. Fry till a nice aroma picks up. Cool and powder it.

STEP 3
Wash and drain the rice and add to the boiled dal along with the mixed diced vegetables. Add water such that the vegetables are just immersed and boil. When the rice is half done, add salt and dry copra. Mix in about 1/2 tsp of tamarind paste and stir well. By now the consistency should have picked up to a semi solid state.


STEP 4
Add water to the BBB powder from step 2 and make it into a paste. This avoids the powder getting clumped. If powder is added directly to the boiling mixture, clumps form and the powder dosen't get mixed in well.


STEP 5 - Bringing it all together:
Mix in the BBB powder paste to the step 3 mixture and check for salt. Make sure the BBB is a little watery otherwise it will become hard when it cools. Switch off the stove after a single boil. Season with mustard seeds, Asafoetida/heeng and curry leaves. Enjoy with a dollop of ghee and potato chips or papad.

Saturday, August 12, 2006

Maavinkai Saasve Anna - Mango Mustard Rice

I have been a bit slow in posting recipes. With a one and a half year old, it's really difficult to sit in front of the PC. The moment I walk up to the computer, my son comes running demanding full attention. God.....the energy today's kids have. I am tired by the end of the day but my son goes on and on. Wish we had half the energy these kids have, we could do a lot more things.

Coming to recipes....we had some friends over for dinner last weekend and as usual I was bugging my hubby for ideas. I gave him a list of all the vegetables in the fridge and practically had most of the veggies on hand. His eye fell on the huge green mango and he blurted 'maavinkai anna' which means mango rice. Well, i felt it was too simple a dish to offer. I wanted to show off my culinary skills, make something exorbitant. It's really true that men always think simple, we women make our lives complicated and crib at the end of the day that we have no time for anything. And to prove this, I decided to make a different version of the mango rice, a more time consuming recipe but much more fragrant and flavorful.


Ingredients:

Rice - 2 cups (Sona masoori or regular rice, not basmathi)

Grind to paste:
Unripe Green mango - 1 big or 2 small cut into chunks without skin
Coconut grated - 1/2 cup
Mustard seeds/ Rai - 1 and a 1/2 tsp
Turmeric - 1/2 tsp
Small piece of jaggery
Heeng/ Asafoetida - a pinch
Dry red chillies - 5 or 6
In Karnataka, we use two kinds of dry red chillies. One is the BYADGI variety which is rich in color and mild in spice. The other variety is the GUNTUR which is very spicy. If available, I suggest you mix both the varieties otherwise the regular kind will do. Green chillies can also be substituted for dry red ones but that will give a different taste.

Seasoning Ingredients:
Peanuts/ Groundnuts - a handfull
Broken Cashewnuts- 2 Tbs
Mustard seeds/ Rai - 1 tsp
Channa dal - 2 tsp
Urad dal - 2 tsp
Finely chopped coriander leaves and curry leaves

Cook Rice separately with a pinch of turmeric, a little oil and salt. Spread on a plate.


Grind the set of ingredients to be ground into a paste. Do not add more water.


Take about 2 or 3 Tbs of oil in a kadai/wok. Season with mustard. When it splutters, add the dals , groundnuts and cashewnuts. When they turn golden brown, add the ground paste and fry till oil separates. Add salt. Switch off the stove and let the mixture warm. Finally add the rice, finely chopped coriander and curry leaves and mix.
Maavinkai anna is ready to be served.

Tuesday, August 08, 2006

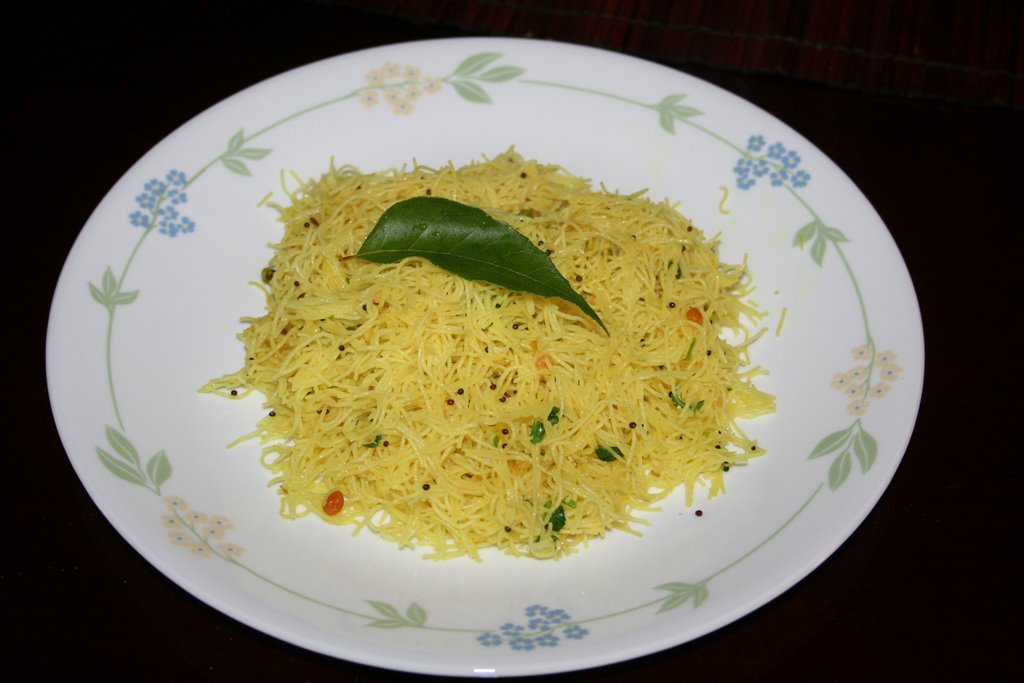
Dhideer Shavige uppit ( Instant Rice Vermicilli Upma)

Another weekend has passed. Days seems to be going so fast... it's already 8 months into this year. Well....as we all know "time waits for no man". And same with us, we don't wait for time either. In today's fast paced world, we need to do as much as possible in as little time we get. Cooking might be the last thing on your mind but it's THE thing which will keep you going. So here's another fast, simple, yet a very healthy tasty breakfast that your body requires in order to function. Remember, 'breakfast is the most important meal of the day'.


Ingredients:
Rice vermicelli- The instant kind also known as Rice string hoppers or the idiappam sticks - 3 handfulls or about 250gms (serves 2)
(I used the sri ganeshram's 777 brand that I found at the local indian grocery store)
Green chillies chopped finely - 2 or 3 depending on your preference of spice
Finely chopped coriander leaves and curry leaves
Juice of 1/2 a lemon
Salt to taste

Seasoning Ingredients:
Mustard seeds or Rai - 1 tsp
Channa dal- 1 tsp
Urad dal - 1 tsp
Jeera - 1/2 tsp

Take instant vermicilli in a bowl. Pour boiling water and make sure that the vermicilli is completely immersed. Cover and keep aside for a few minutes. Then drain the water completely and use as directed.

Take about 2 Tbs of oil in a kadai.
Season with rai. When it splutters, add channa dal, urad dal and jeera. When the dals turn golden brown, add a pinch of turmeric and salt to taste.
Add the drained rice vermicelli, Mix gently. Check for salt and garnish with chopped coriander and curry leaves. Switch off the stove and before serving add lemon juice and mix.

Saturday, August 05, 2006

Huli Avalakki- Tangy Poha


Breakfast is the most important meal of the day. Why? Well, after a long night of sleeping, your stomach is empty. Breakfast is the fuel which gets you going for the day. So never skip breakfast. Any breakfast is better than no breakfast. If you find yourself skipping breakfast because you are too rushed, try this simple breakfast which I'm sure you'll love. A few pre-preparations will help you save time as well as not go hungry.

Again...Huli Avalakki is native to karnataka. It's known by other names such as huli uppittu, gojj avalakki and gojj avalarshi in iyengar tamil.

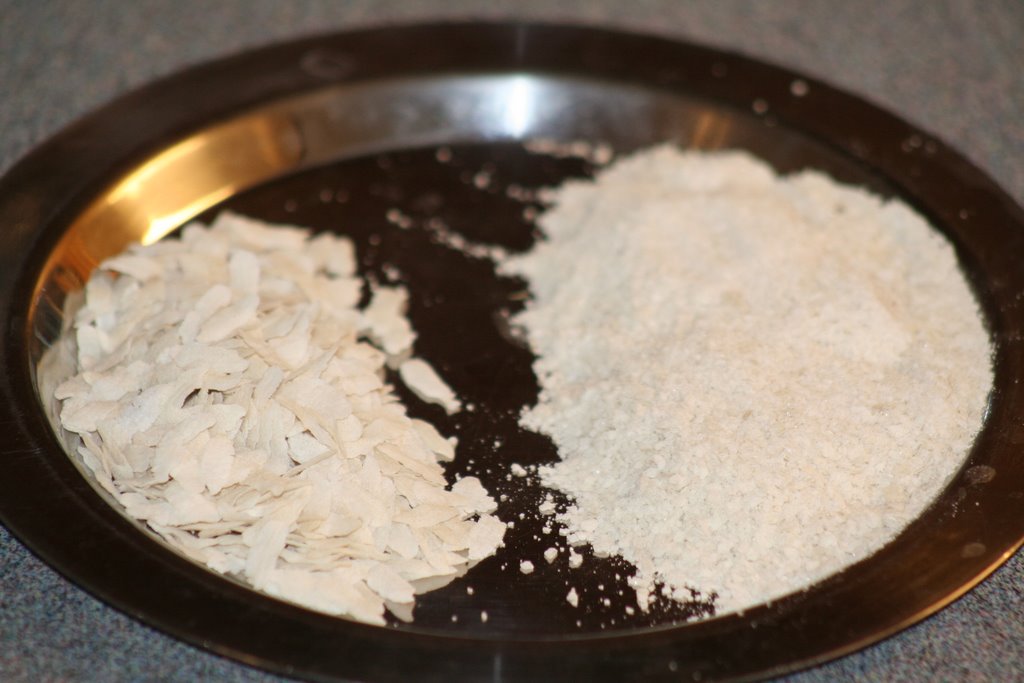
Four varieties of poha are available in the market. Thin variety which is used to make chiwda, medium variety, thick variety used in poha uppma, batata poha, and the extra thick variety. If you do not find the extra thick variety, thick poha can be used.

Pre-preparation:
Grind the thick/extra thick poha in a mixer to rava consistency. You can store this just like you would rava or poha as it is.


Ingredients:
Powdered poha- 2 cups
Rasam powder- 3-5 Tbs
Tamarind/ tamarind paste- 1 Tbs or according to taste
Powdered jaggery- 1/2 cup
Dry cocunut (Copra) grated- 1/4 cup
Salt to taste

Seasoning Ingredients:
Groundnuts- 2 Tbs
Curry leaves- 1/2 cup
Mustard/ rai seeds- 1 tsp
Channa dal- 1 tsp
Urad dal- 1 tsp
Oil- 2 Tbs


Take tamarind or tamarind paste and dissolve in 4 cups of warm water.
To this add rasam powder, salt, jaggery and mix till the jaggery dissolves. Taste and check for the spices. Add more if necessary. This mixture should be a little more in salt and the tanginess, addition of poha will supress it. Add the powdered poha to this , mix and leave aside for 10-15 mins till the poha soaks up all the liquid.

Meanwhile, heat oil in a kadai, add mustard. When it splutters, add channa dal, urad dal, groundnuts and fry till golden brown. Add Curry leaves and the poha mixture. You will see that the poha has soaked up all the liquid, crumble gently and add to the kadai. Mix in the dry copra and check for the salt and sweetness. Add sugar and salt if needed. Switch off the stove once the poha is heated throughout. Enjoy this with thick yogurt.

Wednesday, August 02, 2006

Churmuri

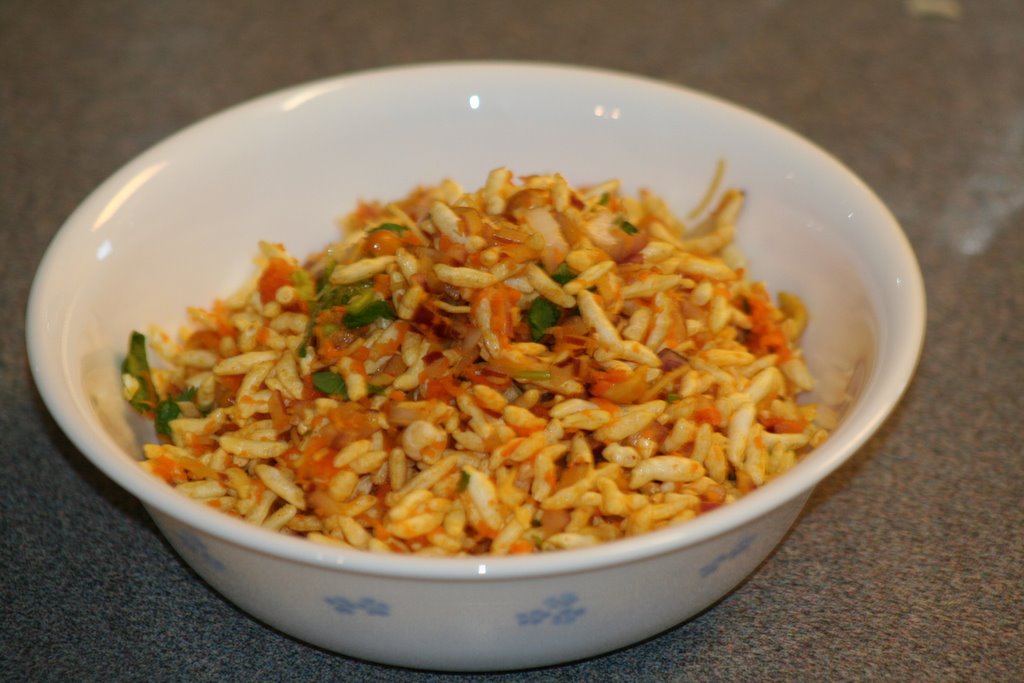
Hi there, hope you enjoyed my two recipes so far. I've been a bit slow in posting recipes because I'm still getting the hang of blogging. I sit and think how to make my blog more interesting without boring you with my talks......which I am not good at. Okey.......this time I have something simple and easy to whip up in no time and very healthy too. Your kids will enjoy this all the more. "Churmuri " .....a familiar word for bangaloreans and mysoreans, roadside gaadis selling puffed rice mixed with seasonings and served in a newspaper rolled cone. Wow......yummy yummy, lip-smacking, finger-licking fun on a rainy day. Wait.....it's not raining.....but that's no reason not to have some fun. I bet you guys out there are missing all the roadside chaats. I am too:( Well.... let's get these things together and have some churmuri with a hot cup of filter coffee. Ummmmmmmmmmm


Ingredients:

Puffed rice ( mamra, kadlepuri) - 2 cups
Onions - 1 cup finely chopped
Carrots- 1/2 cup grated
Cucumber- 1/2 cup finely chopped
Raw mango-1/2 cup finely grated (optional)
Green chillies- 2 finely chopped
Tomatoes- 1/2 cup finely cut (optional)
Red chilly powder -1/2 tsp or according to taste
Salt to taste
Lemon juice to taste
Congress kadlekai (masala peanuts again known to karnataka-ites)- a handful
Oil - 1 tsp
Coriander leaves- 1 Tbs finely cut for garnishing
Fine sev- 2 Tbs (optional)

Take puffed rice in a microwave safe bowl and heat for about 10-15 seconds or till crisp. You can also dry roast it in a kadai for a few minutes just to remove moisture, otherwise the churmuri will get soggy in no time.

Congress kadlekai or masala peanuts can be made at home for this recipe. You can do without it or just add some roasted peanuts but let me tell you it's the congress kadlekai that gives that authentic taste to the churmuri. Some people add nippattu ( a fried snack made with rice flour).
For congress kadlekai, take:
Roasted peanuts- 2 cups
Turmeric- 1 tsp
Red chilly powder- 1 tsp
Asafoetida/heeng - 1/2 tsp
Black pepper powder- 1/2 tsp
Oil- 1 Tbs
Salt to taste
Roast peanuts , remove skin and split into halves. It's easier if you get skinless peanuts. Heat oil on a pan and add asafoetida and turmeric. Add the roasted peanuts and remove the pan from heat. Add chilli powder and pepper powder, salt and mix. Cool and store in an airtight container. Can be used as needed.

Mix chopped onions, grated carrots, green chillies, grated mango (optional), red chilly powder, salt, lemon juice with the mamra and mix . Add congress kadlekai, fine sev and coriander leaves. Add cucumber and chopped tomatoes at the end otherwise the mamra will become soggy. Mix briskly and serve immediately. Enjoy with a hot cup of coffee or tea.

Hey guys, wanted to add one more detail. I came across this article in deccan herald which all of you chaat lovers out there must read.
http://www.deccanherald.com/deccanherald/jul52005/spectrum111920200574.asp

Monday, July 31, 2006

Vegetable Dum Biryani

Hi everyone.....hope u all had a wonderful weekend. My weekend was a usual one, cleaning cleaning and more cleaning. And one good thing about it was that I found my treasure of recipes.....I don't have to worry for the next couple of weeks now, I have so many new recipes to try and share with you and ofcourse my poor hubby's the experimental mouse...hehehe. I call him the OT-official taster. The great thing about my husband Sathyan is that he really tells me how the dish turned out, he just won't flatter me. Let me not bore you with my talk, lets get started on the recipes....this is my second recipe so far.
Biryani........yummmmmmmmmmmm. This brings back nostalgic memories of my college days. Come Ramzan and my friend Rushi would invite us home for a feast.... chicken tandoori fry, mutton biryani and sheer kurma. Wow, those tantalizing aromas and authentic flavors still linger in my memories. Left over biryani tastes heavenly if eaten the next day. It's called 'baasi biryani'. TIP: Any masala dish for that matter tastes better if eaten the next day as all the flavors infuse. So here is the vegetarian version of Muslim biryani as I call it. This is my mom's masterpiece besides many others. Whenever I go to India, mummy makes it for me. My sister always says mummy has some magic in her fingers, whatever she makes turns out to be so tasty. But no matter how accurately I follow her recipe, it never tastes like how she makes them. As my hubby dear puts it " good but not like what mummy makes". Hope you enjoy this dish as much as we do. This recipe is a little tedious but you'll be pleased with the outcome.


Ingredients:
Basmati Rice- 2 cups
Mixed diced vegetables-2 cups
(peas, carrots, beans, potato, cauliflower)
Onions - 2 big (1 for grinding, slice the other into thin strips)
Green chillies-2
Red ripe tomatoes-3 big
Fresh ginger- 2 inch piece
Garlic- 7 cloves
Pudina leaves- 1 cup
Coriander leaves- a small bunch
Cinnamon- 1 inch piece
Cardamoms- 3
Bay leaf- 1
Cloves- 3
Juice of one big lemon
Coconut- 1/2 cup grated
Red chilly powder- 2 tsp or according to spice level
Dhania powder- 2 tsp
Turmeric- 1 /2 tsp
Salt to taste
Oil
Dissolve a few strands of saffron in 1/2 cup of warm milk

Grind together:
Grated coconut, 1 big onion, tomatoes, green chillies, ginger-garlic, cinnamom, cardamom, cloves and 1/2 bunch coriander leaves. Make into paste with little water.

Wash and soak rice for 15 minutes. Take a huge vessel with lots of water, lemon juice, salt, 1/2 cup pudina leaves, a few pieces of cinnamon, cardamom and cloves. Once the water comes to a boil, add the soaked and drained rice and boil briskly till 1/2 cooked. Drain all the water and spread the rice on a large plate.

Take some oil in a kadai, fry the sliced onions till golden brown and crisp. Take it out onto a separate plate. To the remaining oil, add diced vegetables, turmeric, red chilly powder, dhania powder and the ground paste. Fry till a good aroma comes and oil floats on top, add salt and cook till the vegetables are almost done. Be wary of how much salt you add because the rice also contains salt. Now the kurma is made. Next step is to bring all this together by layering.

I use the electric rice cooker to layer and cook the biryani to dum. You can use any vessel of ur choice or even an oven safe container. Whatever you choose to use, put a layer of aluminium foil at the bottom of the pan so that a layer of rice dosen't get burnt.

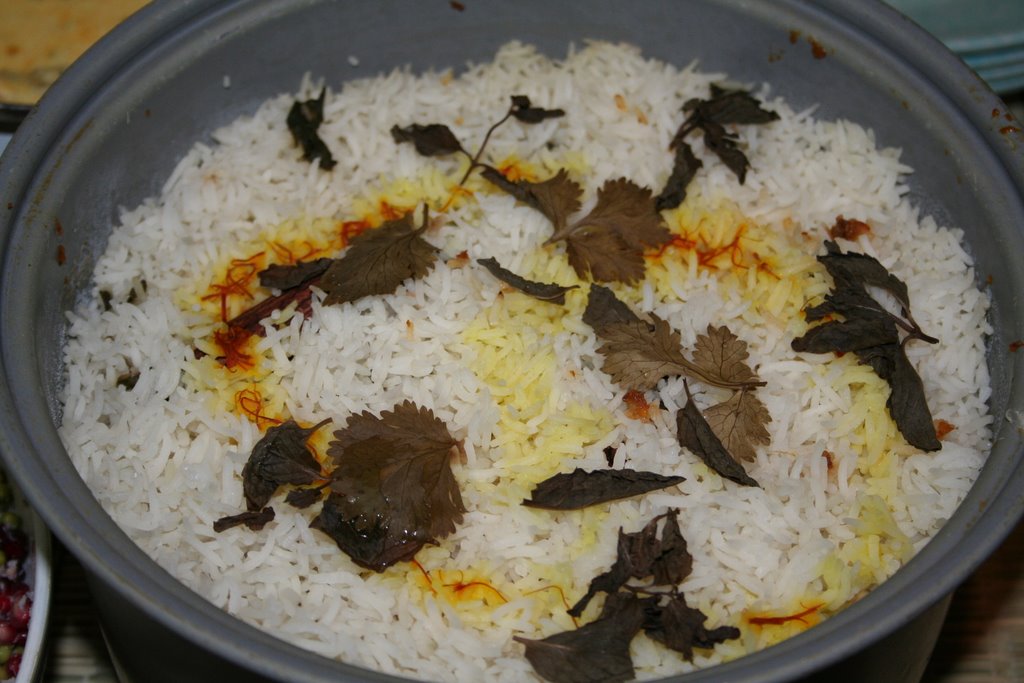
So start with a layer of rice, then sprinkle a few drops of the saffron milk, sprinkle some fried onions, a few leaves of pudina. Then a layer of the vegetable kurma, then again rice, milk, onions, pudina and so on. Continue and finish off with a layer of rice. Decorate as you please with garnishes and if using a rice cooker, put it on rice cooking and leave for about 1/2 hour. Do not disturb till you are ready to serve. If using the stove top, cover with foil and set it on low heat for 15-20 mins. If using an oven, preheat to 350 degrees F and bake for 15 mins. Yummy biryani is ready to be served. Serve as layers so that the guests can see how beautiful the biryani looks and eat as they mix it themselves. Can be served with any raita of your choice.

Saturday, July 29, 2006

Sprouted Moong Kosambri


Here’s an innovative, healthy Indian snack for kids, loved by both the young and the old. It’s called SPROUTED MOONG KOSAMBRI, meaning a salad prepared with sprouted green gram. It’s a very nutritious snack containing sprouts, pomegranate, fresh coconut scrapings, with a pinch of salt and a dash of lemon juice. Studies have shown that sprouts contain significant amounts of vitamins A, C and D.

Sprouts are widely recognized by nutrition conscious consumers and health care professionals as a “wonder food”. The Moong bean sprouts are a good source of protein, fiber and vitamin C. A 3 oz. serving contains just 30 calories (http://www.isga-sprouts.org/nutritio.htm). One pomegranate delivers 40% of an adult’s daily vitamin C requirement. It’s also a rich source of folic acid and of antioxidants.

RECEIPE: SPROUTED MOONG KOSAMBRI

Ingredients:

Dry green moong beans - 1 cup

Fresh Pomegranate - 1 fruit

Fresh Coconut scrapings - 1 tablespoon

A pinch of salt to taste

A dash of lemon juice

A few sprigs of fresh cilantro for garnish

Soak the dry beans in warm water and leave it overnight. Drain all the water the next day and cover and keep in a warm place to sprout. It takes anywhere between 2 to 5 days for the beans to sprout. Combine the sprouted moong beans in a wide bowl with pomegranate seeds, fresh coconut scrapings and salt. Add a few drops of lemon juice and garnish with freshly cut cilantro. Can be chilled and eaten for crispiness.

Friday, July 28, 2006

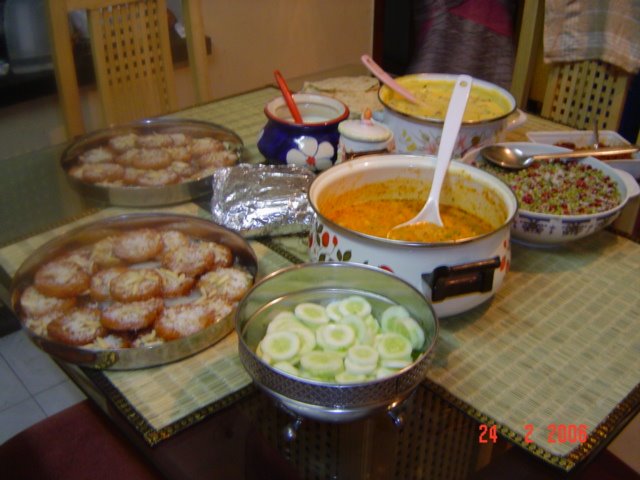
We had been to India in feb for my son's first year birthday celebrations amongst family and friends. My mom and aunt whipped up this authentic dinner which left us and our guests literally drooling :) The menu included
Sliced cucumber with salt and pepper seasoning
Navaratna kurma
Rumali rotis
Sprouted Moong and Pomegranate kosambri
Vegetable muslim dum biryani
Punjabi pakodi kadi
Shahi tukda

WOW......the arrangement of the dishes itself was breathtaking and we just couldn't wait to dig right in.

I will be sharing all of the above recipes with you so that you can also experience the yummy food mummy cooks.